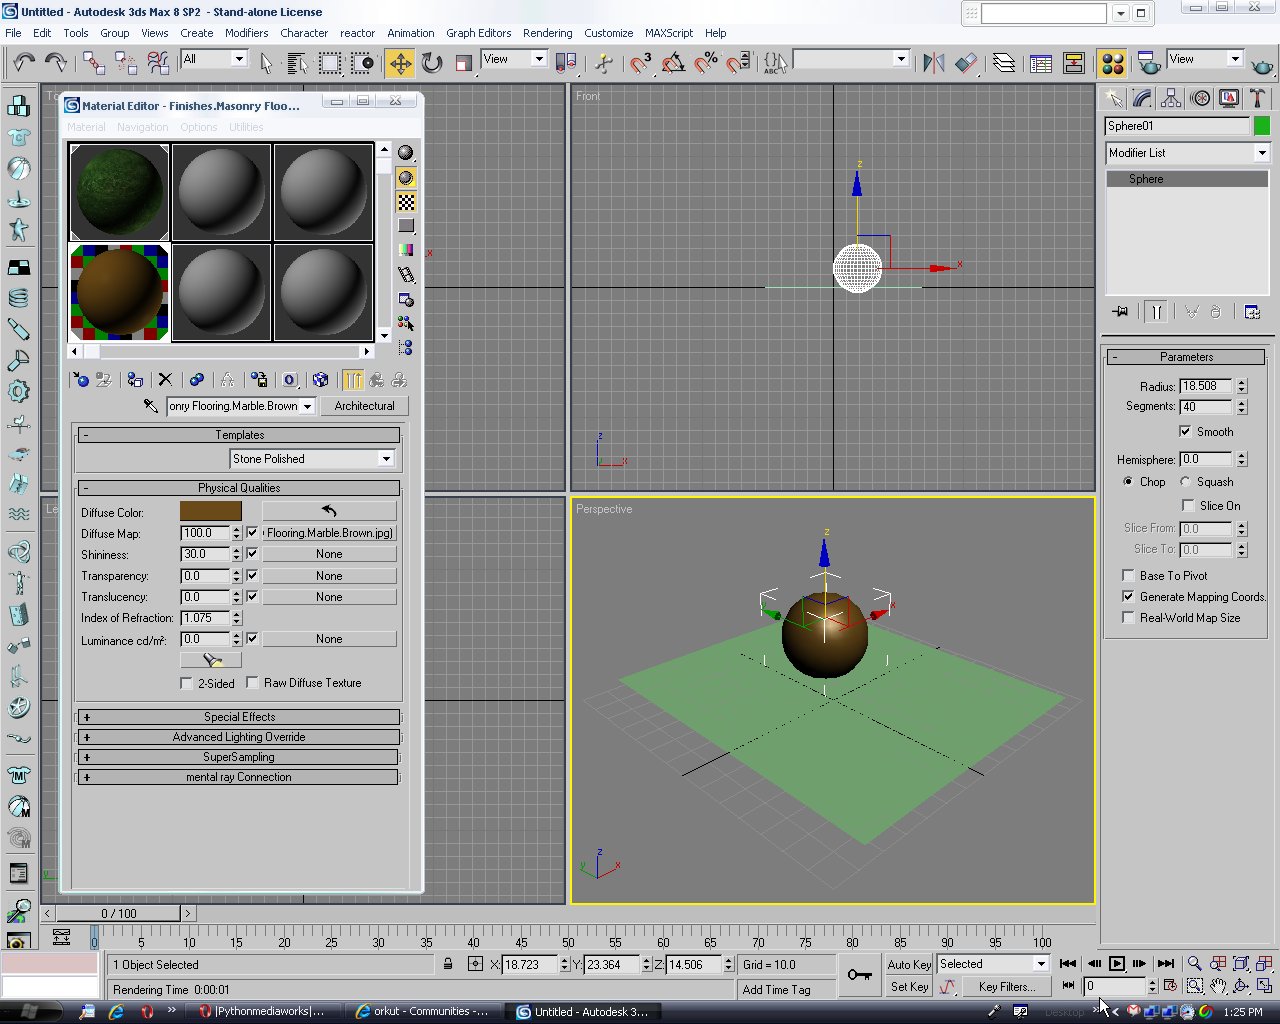
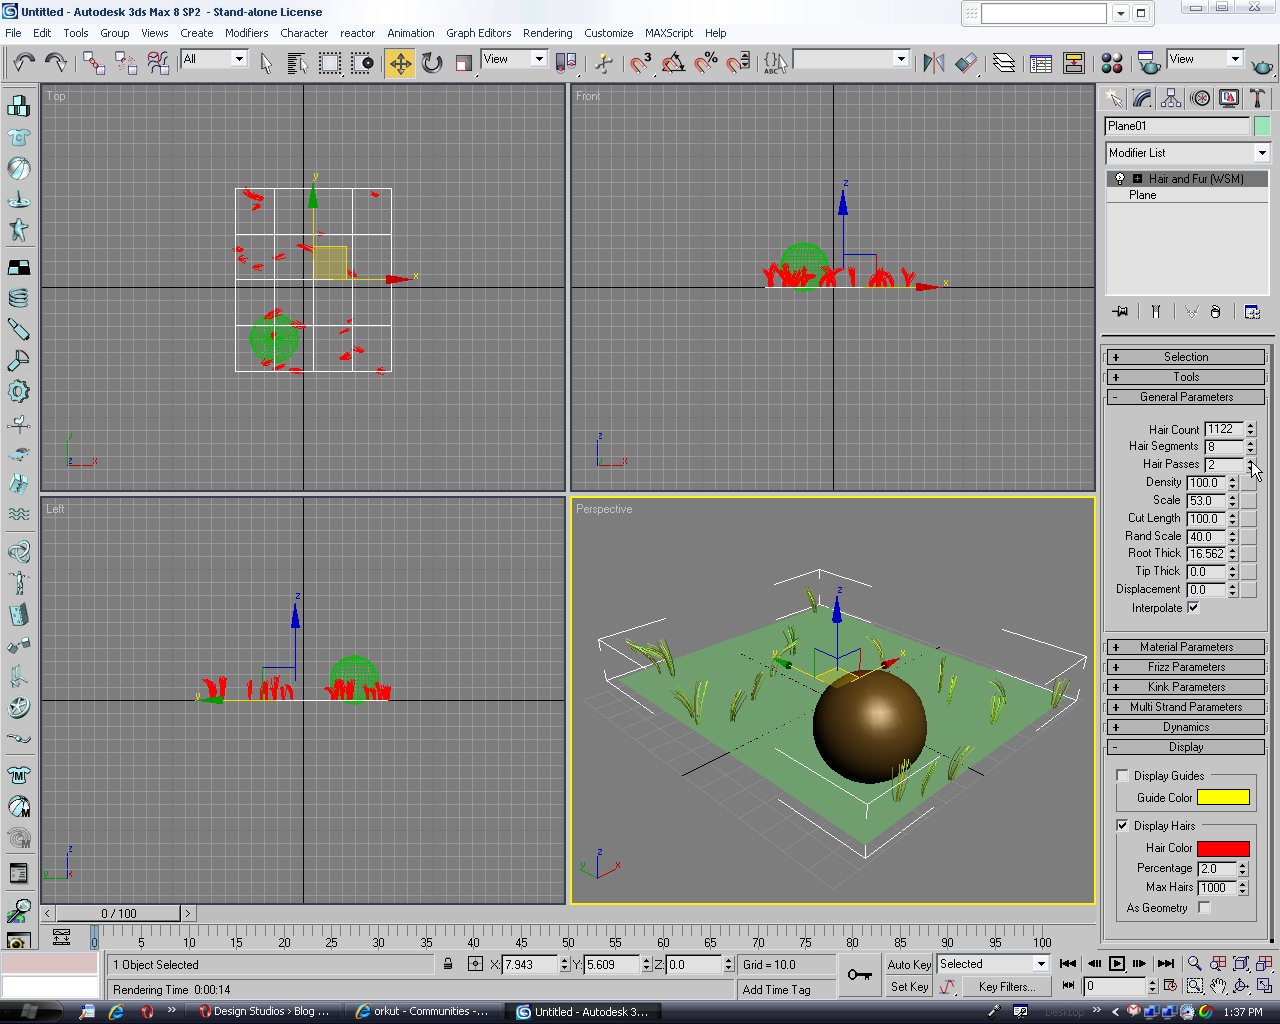
I)Open Autodesk 3DS Max and make the scene as shown in the pic below.
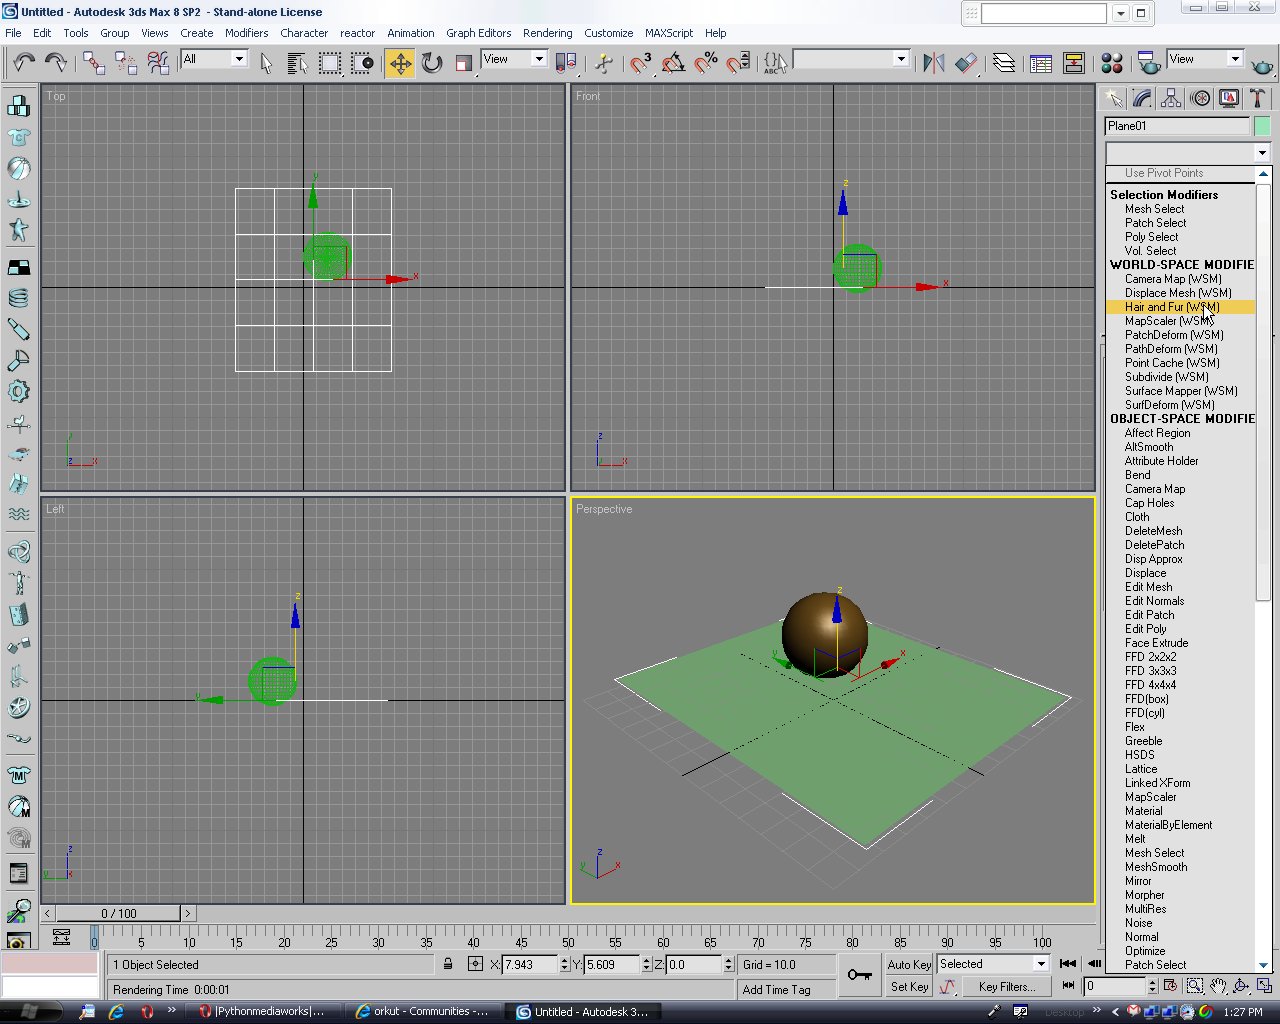
II)Click on the plane and go to the Modifier tab and then select 'Hair and Fur (WSM)' from the Modifier List.
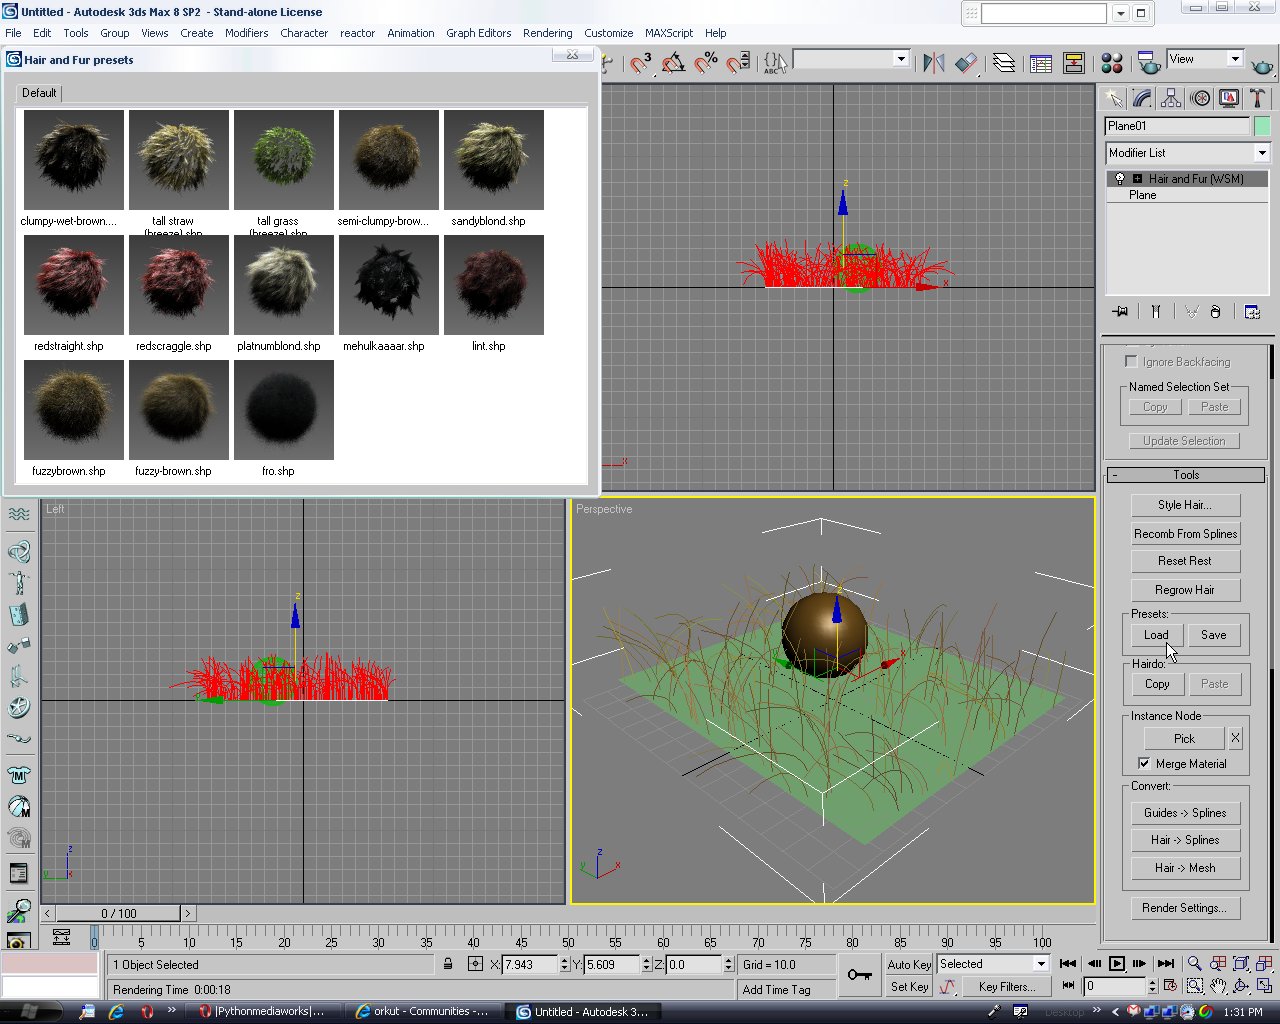
III) In the tools click on the 'Load' from presets and select 'tall gras'. You can select anything you want to.
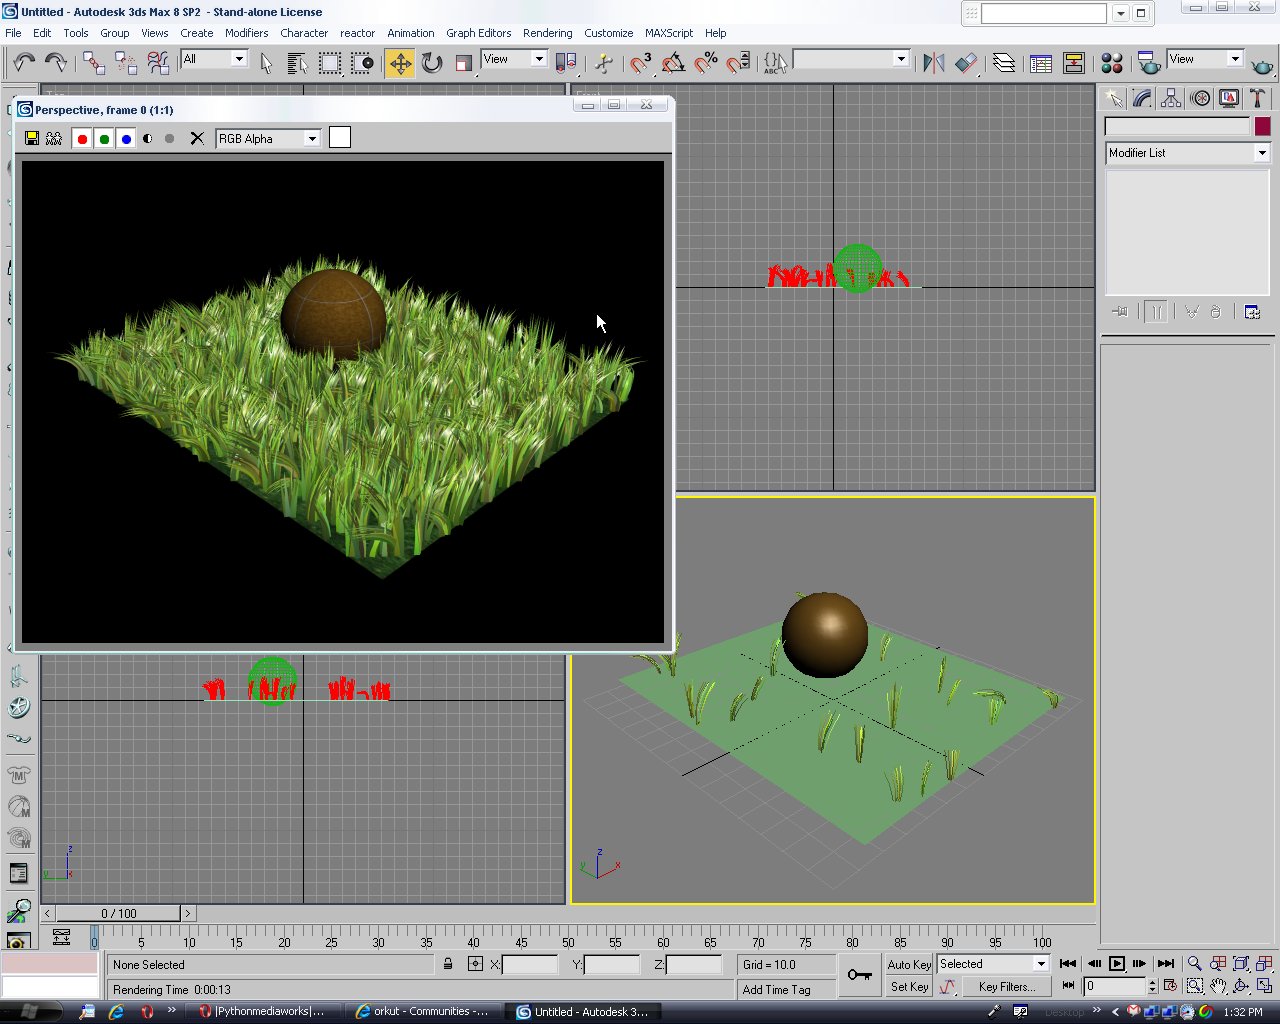
IV) Click on render (F9).
V) Under the Hair and Fur modifier in the 'Dynamics' select 'Live' under mode and 'sphere' and click on Add and select on the 'sphere'.

VI)Increase the hair passes in the General Parameters. It will improve the rendered file but be carefull it will take time.
Hit render (F9)
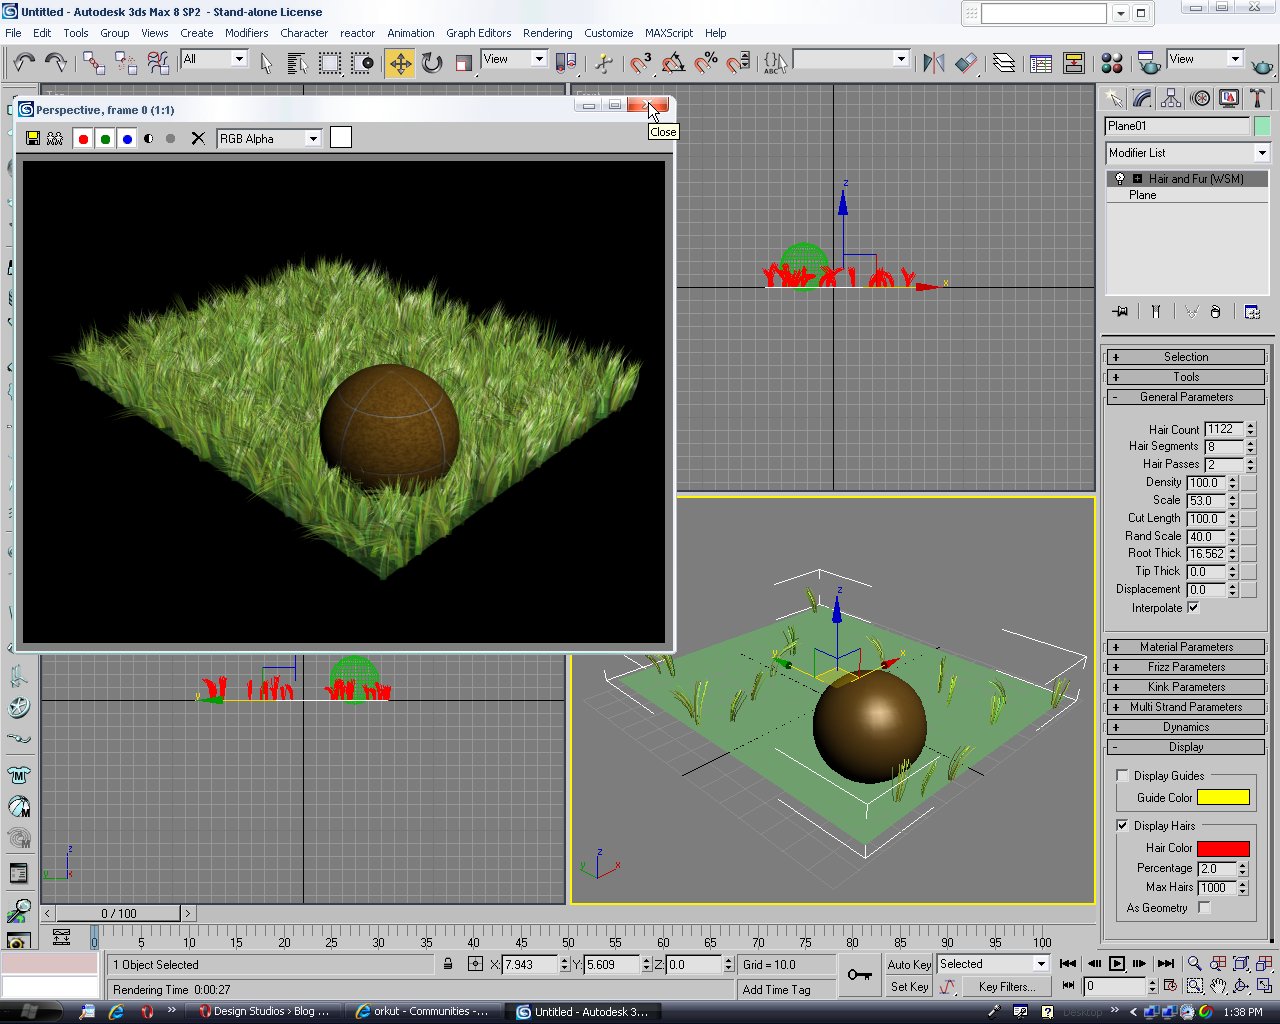
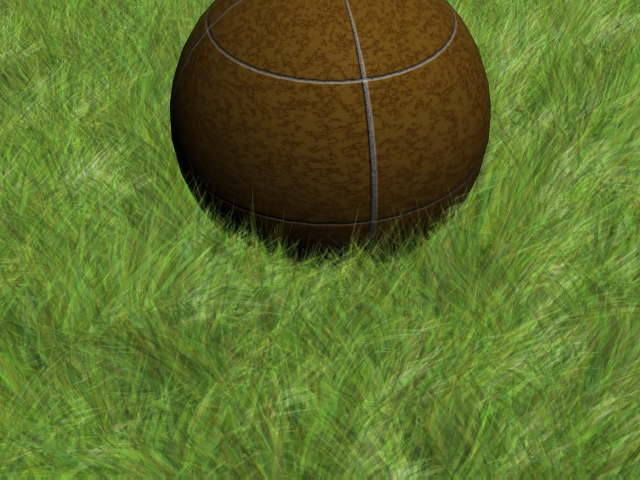
VII)Final image


11 comments:
Thanks for this tutorial. I have a question about this. When I use hair and fur tool to make grass and render then, I cant see green grass with omni lights. Is there any ideas to see then?
best
I keep seeing the grass on the bottom of the plane... any way to fix this?
It very nice tutor.Thank guy.
my blogs:
http://taira-hobby.blogspot.com/
awesome tutorial... I looking for this, then finally I find it.
nice tutor bro 3ds-indle
Hi,
Nice one. You can visit www.cakewalkcg.comfor more free video tutorial.
Regards,
Cakewalkcg
very usefull tuts, thx for share man...
i have 3ds max tutorials blog, u can visit http://jurusan-multimedia.blogspot.com. Thx...
Great tutorial, my result for this tutorial is here
nice...thanks.
Gunadaya.com
Post a Comment